Close-cropping parts of images & cutting them out
This is the second part of the Photoshop pen tool tutorial featuring how to select a complete shape and extract parts of an image. If you are new to the Photoshop pen tool I recommend you reading the first part of the tutorial which will show you the basics of the pen tool and how to make basic lines using the tool. The pen tool is commonly used for extracting parts of images when you want to select something specific in your document.
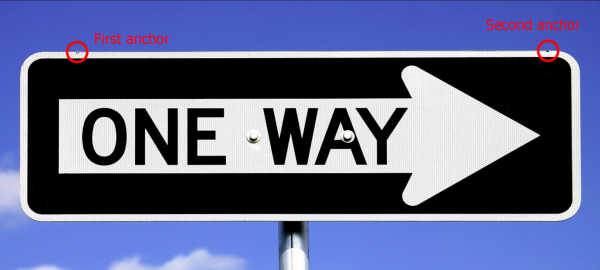
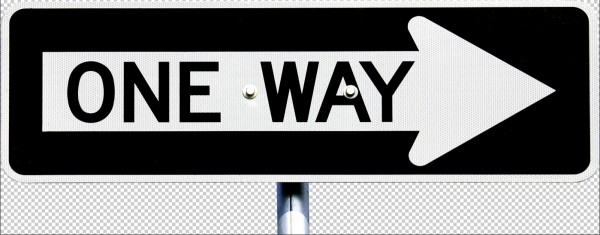
This sign would be good practice as it has curved corners that you’ll learn to maneuver around using the pen tool.

Let’s say you wanted to select this sign and separate it from the sky background. Click anywhere on the edge but I recommend starting on a straight edge and not on a curved corner (feel free to zoom in for some accuracy).
I started at near the top left corner and made another anchor across from it near the top right corner before the curve started. Then I clicked on the corner and dragged in a southeast direction so that the directional handles would appear and the path would turn into a curve that starts to mould around the edge of the sign.
As I clicked again but nearer to the end of the corner and dragged downwards a bit, my path got a little distorted as you can see. To fix this, hold the alt button and pull the directional handle closer to its anchor to fix the path. It might be hard to see the path in the screenshot so I drew an example of what my path and anchors look like.

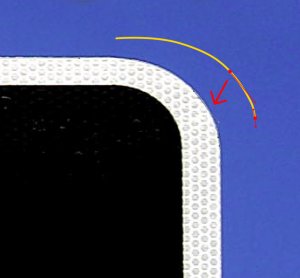
Remember that with straight edges and corners like the bottom of the sign, you do not need directional handles and instead just click without dragging.
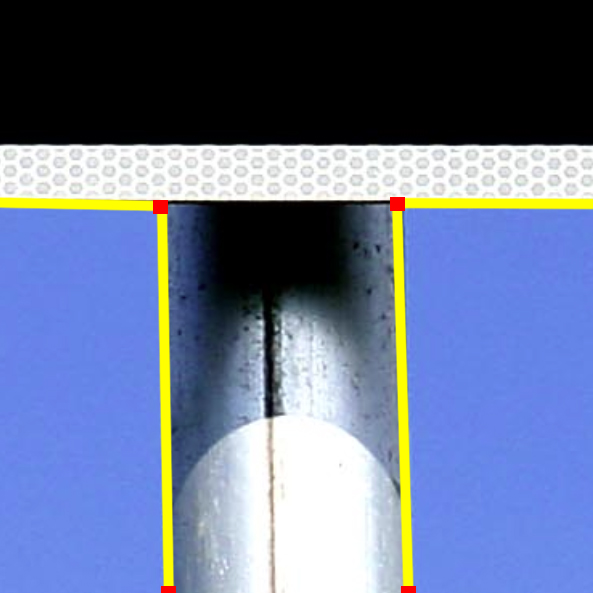
From here you can continue to select around the sign and repeat the steps in the corners. When you find yourself back at the first anchor you started the path at, click it again to close your path. You’ll know that Photoshop is asking you to close the path when the pen tool has a circle beside it while you hover over the anchor.
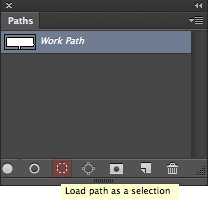

In your paths panel, click the small dotted circle icon to turn your path into a selection. Once you get these dotted lines (marching ants) around your object of interest, that means it’s “selected”. You can now click the masking button which will separate your selection from the background so that only your selection shows.
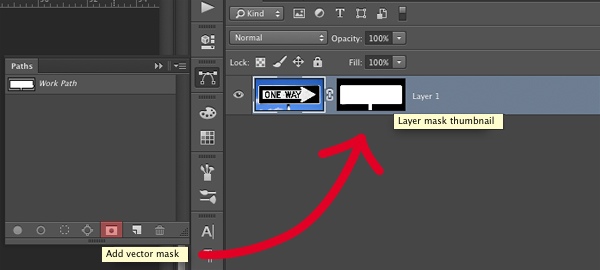
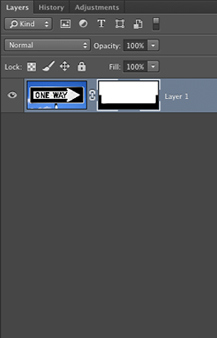
A box will appear next to the layer that you masked. What is white is visible, black is invisible.
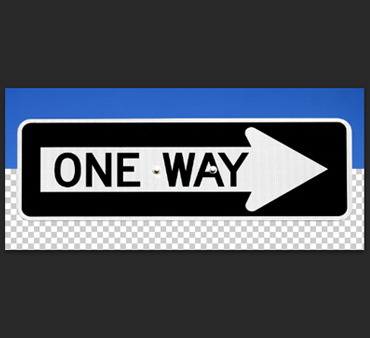
Masking in Photoshop allows you to make what you want visible/invisible in a non-destructive manner in case you change your mind later. To bring back the background, or even just some of it, go to your layers panel and click on the black and white box next to the thumbnail of your layer, making sure it is selected. Fill in any spots you wish to no longer be transparent with black, or take away more of what’s visible with white.
I used a brush and painted black where the handle is because I no longer wanted it there. I also used the rectangle marquee tool to select the top half of the image and filled it with white to get half of the sky back.
Complicated Shapes
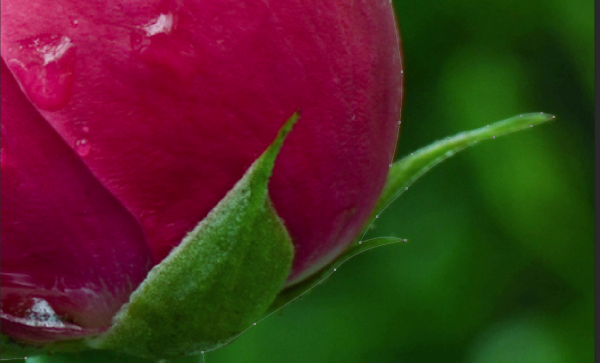
Even though this is sort of a basic shape, you can use the exact same method and instructions to even extract let’s say, a rose.
There are no new steps as to how to extract this flower that you haven’t already learned although there are a few tips:

When there is a lot of detail and many corners, feel free to click and make many more anchors than usual like I did at the top of the rose petals.

When there are curves however, you’re allowed to relax and make more curves with less anchors so that the path flows smoothly.

Now this may seem intimidating at first, but I assure you that the same rules apply, just that this of course would take a bit more time. Once you get the hang of the pen tool, all of these steps will come naturally and you’ll find yourself using this as the easiest way to make lines or close-crop an image.