Jan. 7, 2019

Display Location-based Content to your Visitors Using WP Engine’s GeoTarget Add-on
If you’re looking to display location-based content to your visitors based on their geographical location then WP Engine’s GeoTarget add-on is a plugin that you may want to consider.
What is geotargeting?
Personalizing the content that is displayed on your website based on your visitor’s geographical location is something that is known as geotargeting. Geotargeting enhances your visitors’ experience and helps you gain their trust and initial buy-in.
A simple example of geotargeting would be to display the national flag of your visitor somewhere on your website. If your visitor is dead-set on only purchasing items from within the country, having a small flag displayed somewhere on your website might help sway their decision to choosing you over a competitor.
WP Engine’s GeoTarget Add-on
When it comes to personalizing a user’s experience based on their geographical location there is one solution that we’ve come to know and love; WP Engine’s GeoTarget Add-on.
Important!
The GeoTarget add-on will only work on your website if it is hosted with WP Engine. If your website is hosted elsewhere, I highly recommend checking out WP Engine; they are the best of the BEST!
Steps to getting WP Engine’s GeoTarget service working on your website
There are a series of steps that need to be completed in order to utilize WP Engine’s GeoTarget add-on on your website.
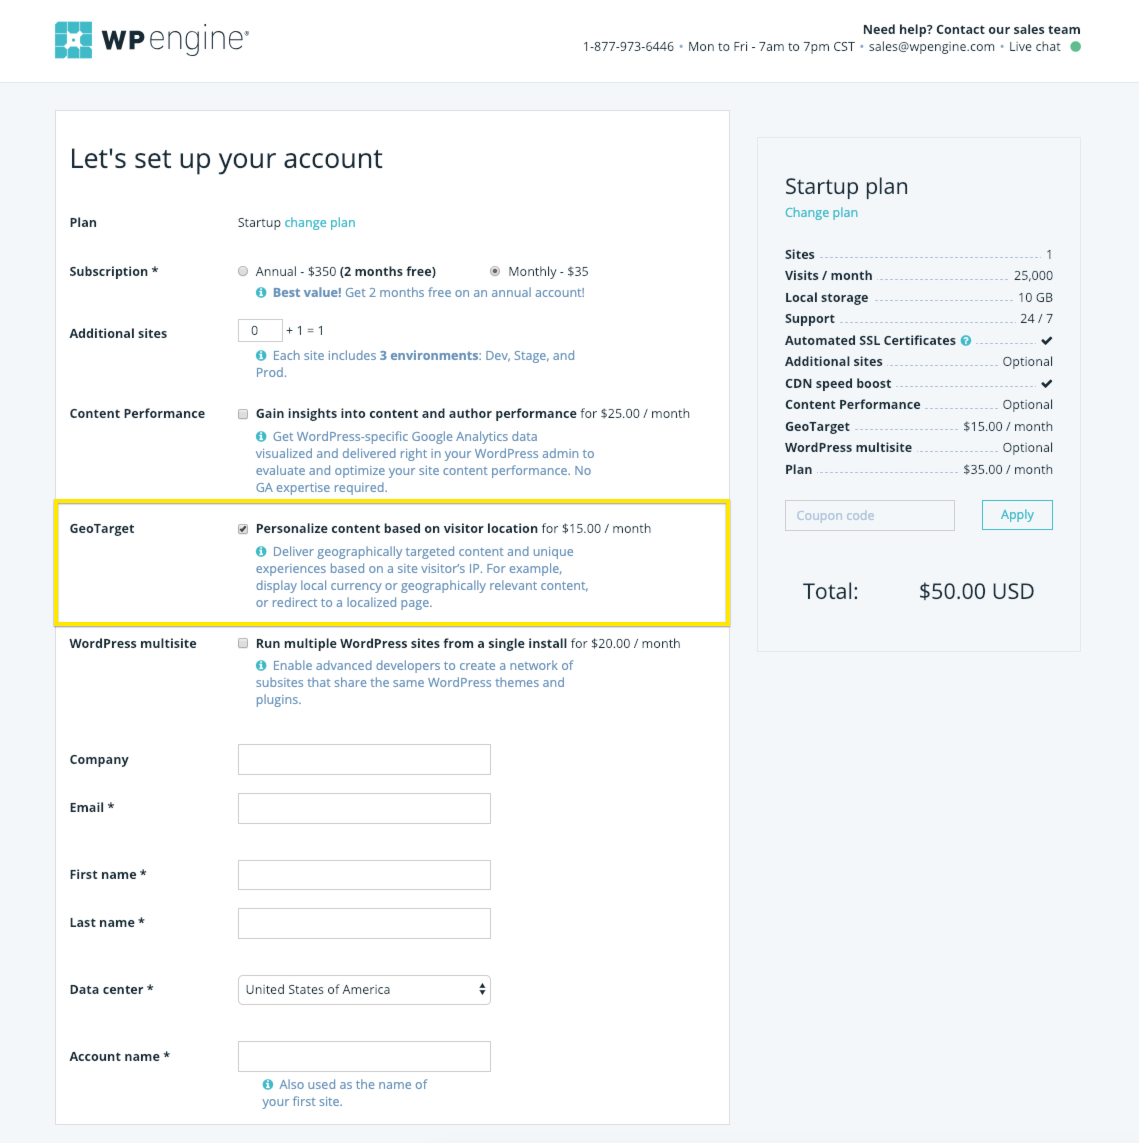
Step 1: Enable GeoTarget on your WP Engine account

The GeoTarget feature can be enabled at the checkout when signing up for a new Startup, Growth, or Scale hosting plan.
For existing customers, the GeoTarget feature can be enabled from the User Portal by modifying your current plan on the My account page.
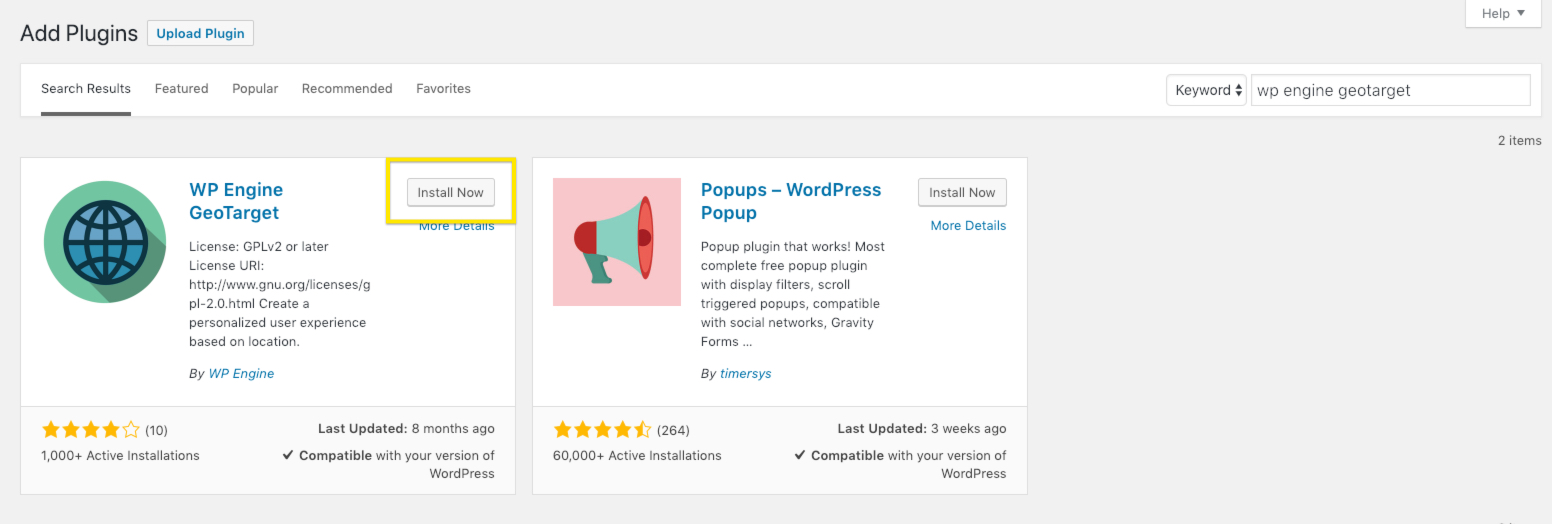
Step 2: Add the WP Engine GeoTarget plugin to your website

The GeoTarget plugin can be downloaded from the WordPress plugin repository. It can also be installed from the WordPress Admin Dashboard by searching for “WP Engine Geotarget” within the Add Plugins view.
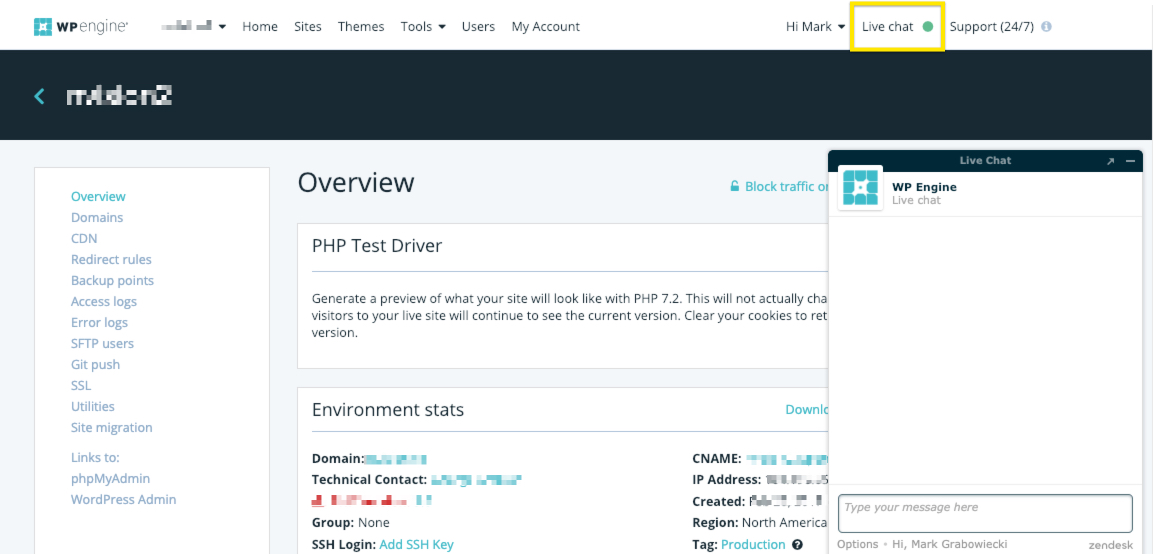
Step 3: Contact WP Engine support to enable your GeoTarget profile

Enabling the GeoTarget profile on a WP Engine account can be completed by contacting their Live Chat support.
Their support staff will need to know which GeoTarget bucket should be enabled on the account:
- Continent
- Country
- State/Region
- City
These buckets are used to determine the level of granularity that is required to effectively display the geotargeted content.
Choosing a more granular bucket will be less optimal for performance as the website’s cache will be more segmented.
How to display location-based content on your website
Now that WP Engine’s GeoTarget service has been enabled on the account and the add-on has been installed it’s time to put these features to work.
Option 1: Update your theme’s code to control the content based on your visitor’s geographical location
Important!
This option is meant to be used by developers when building a custom theme or modifying a child theme.
The following information about your visitor’s location is available through shortcodes. Some of these items are only available within certain GeoTarget buckets which can be enabled on your WP Engine profile.
- Continent: [geoip-continent]
- Country: [geoip-country]
- Region (State/Province): [geoip-region]
- City: [geoip-city]
- Postal Code: [geoip-postalcode]
- Location: [geoip-location]
- Latitude: [geoip-latitude]
- Longitude: [geoip-longitude]
In this example I’m going to piggyback off of my previous reference of showing a specific country’s flag to your visitors based on their geographical location.
To keep things simple, the goal is to display a Canadian flag to users visiting your website from within Canada and to display an American flag to everyone else.
Below is a simplified code snippet that would be used to achieve our goal of changing which country’s flag is displayed in an area on the website:
<?php
$country = (string) do_shortcode( '[geoip-country]' ); // visitor's country
$country = strtolower( $country ); // lowercase country for comparison
$image_src = ( 'ca' == $country ) ? 'PATH TO CANADIAN FLAG IMAGE' : 'PATH TO AMERICAN FLAG IMAGE';

echo '<span class="site-flag"><img src="' . $image_src . '" width="IMAGE WIDTH" height="IMAGE HEIGHT" alt="IMAGE ALT" /></span>';
?>
You’ll notice that the image sources in the code snippet reference hard-coded file paths. An alternative (and recommended) solution is to control these values using a custom field, which is made available by using the Advanced Custom Fields (ACF) plugin. Read more about ACF and how it has become a part of our Must have WordPress plugins for every project.
Option 2: Use shortcodes within the editor to control your location-based content
The beauty of WP Engine’s GeoTarget add-on is that it supports a number of variations within the available shortcodes. Experiment with mixing the various options to effectively control what content is displayed to your visitors.
Below is an example of the shortcodes in use within the editor to replicate the same example as outlined in Option 1:
[geoip-content country="CA"]// IMAGE OF CANADIAN FLAG CHOSEN FROM MEDIA LIBRARY[/geoip-content]
[geoip-content continent="NA" not-country="CA"]// IMAGE OF AMERICAN FLAG CHOSEN FROM MEDIA LIBRARY[/geoip-content]
Additional Shortcode variations
Although the examples outlined above have been simplified for demonstration purposes, WP Engine’s GeoTarget add-on supports a number of combinations to help you achieve your desired outcome.
Their Developer’s Guide goes through the various combinations in greater detail: A Developer’s Guide to GeoTarget
Have an alternative solution?
Do you have an alternative geotargeting solution that you think others would benefit from? Feel free to comment below with your solutions!
Read More
Read More About
Book with us
Let’s accomplish what you are looking for, our team of experts are here for you.
Let's work togetherWarning: Working with our team may result in excessive creativity, uncontrollable 'aha' moments, and an addiction to perfect pixels. Please proceed with caution.


